
Create Campaign
Overview
Quickly and efficiently create, set up, and test new campaign launches within the Perform[cb] platform in 5 minutes or less with this smart campaign builder. The platform takes the guesswork out of creating campaigns by customizing the required fields based on the marketer's desired customer outcome, tracking platform, and tracking method.
To get started, navigate to the Manage > Campaigns section and select the "Create Campaign" button.
Campaign Outcome
Select which customer outcome they are seeking from this campaign(aka Pricing Model, Format, or Type, which is the primary action from the end customer that you'll be paying out on). The platform will use that outcome selection to customize the campaign build experience and only ask for information relevant to that outcome.

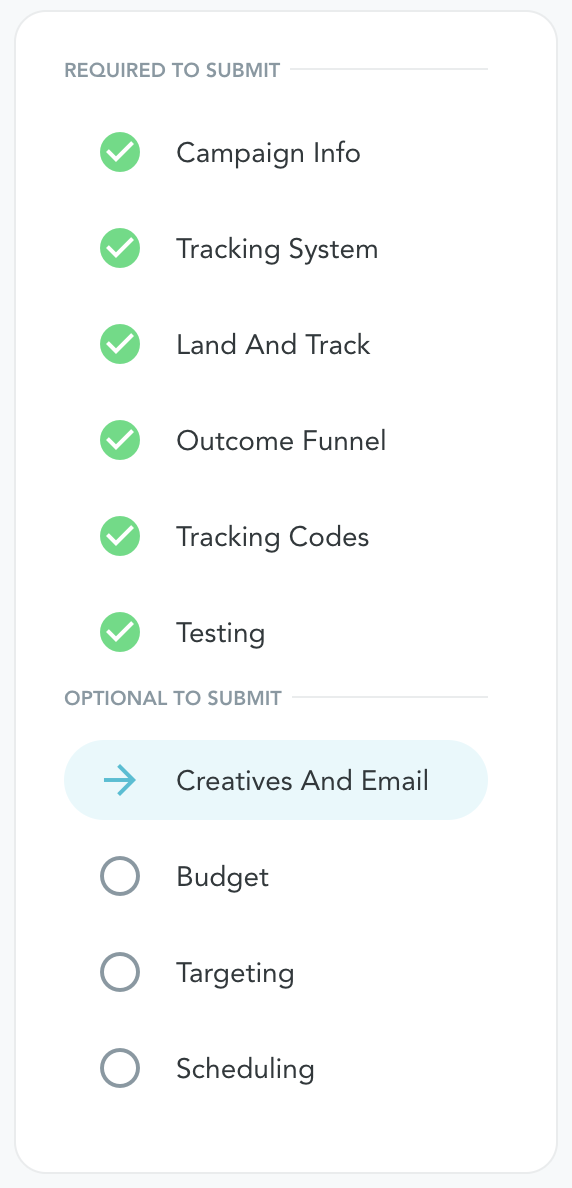
"Required to Submit" Sections
All sections within the Required to Submit list must be completed with a green checkmark before the campaign can be submitted. These sections are different based on which outcome was selected.
Campaign Info
Basic campaign information is needed before you can continue creating the campaign. The following fields will be different based on your setup and selections.
- Vertical: Options will be dependent on what campaign type was selected. CPS, CPL, CPC & PPC will not include Apps verticals. CPI & CPE will only include Apps verticals.
- Custom Domains: If at least 1 custom domain is verified on your account, an optional Custom Domain dropdown will appear.
Tracking System
Using one of the major tracking platforms/MMPs for your traffic? If so, we've given you a literal "Easy Button" which will help append the macros and parameters based on our team's years of experience working with these external tracking platforms.
If you're using GTM as your primary tracker, Perform[cb]'s Pixel is integrated within the Google Template Community and setting that up is as simple as it gets! Each tracking system has a simple set of directions to follow within the builder (don't forget to check out the tooltips, too!)
- CPS/CPL/CPC: TUNE, Impact, Cake, Everflow, Google Analytics, Other, None
- CPE/CPI: Adjust, Appsflyer, Branch, Kochava, Singular
- PPC: Ringba

Track impressions by adding the MMP's Impression Tracking URL. After the URL is added, the following settings can be enabled.
- Require Tracking Impression
- Enable View through Attribution
Land & Track and Outcome Funnel
These sections tell PCB about the customer journey and what's important for you to measure, and what action(s) you'd like to pay out on.
Have a CPS Campaign and therefore ROAS an important metric for you? It's easy to get this setup - click here!
Do you instead measure quality through events (such as registration or linking a bank account?) Check out our One-Pager here to learn how to setup and report on multiple events in our platform.
Tracking Codes
This section provides the postbacks, iframes and image pixels needed for PCB to successfully track your campaign's conversions and events (if added) based on your tracking platform selected in the builder.
Note: If our recommended parameters and macros are not used in the Campaign Tracking URL, you will need to edit the postback/pixel accordingly to ensure successful tracking.

Pixel Groups
Optionally, assign the main conversion and events to a pixel group to utilize a shared pixel. By default conversions and events won’t be assigned to a pixel group. If assigned to a group, the pixels above will be updated to reflect a new group id instead of a campaign id. The pixels for this group can be found in the Pixel Groups section of the navigation menu.
Testing
It is highly recommended that every campaign is tested before launch. Use the testing link provided to verify all tracking codes are placed properly and passing traffic data back to our platform correctly. This traffic will be recorded as a test and will not be billed or visible in our standard reports. The test results will show through to your tracking platform.
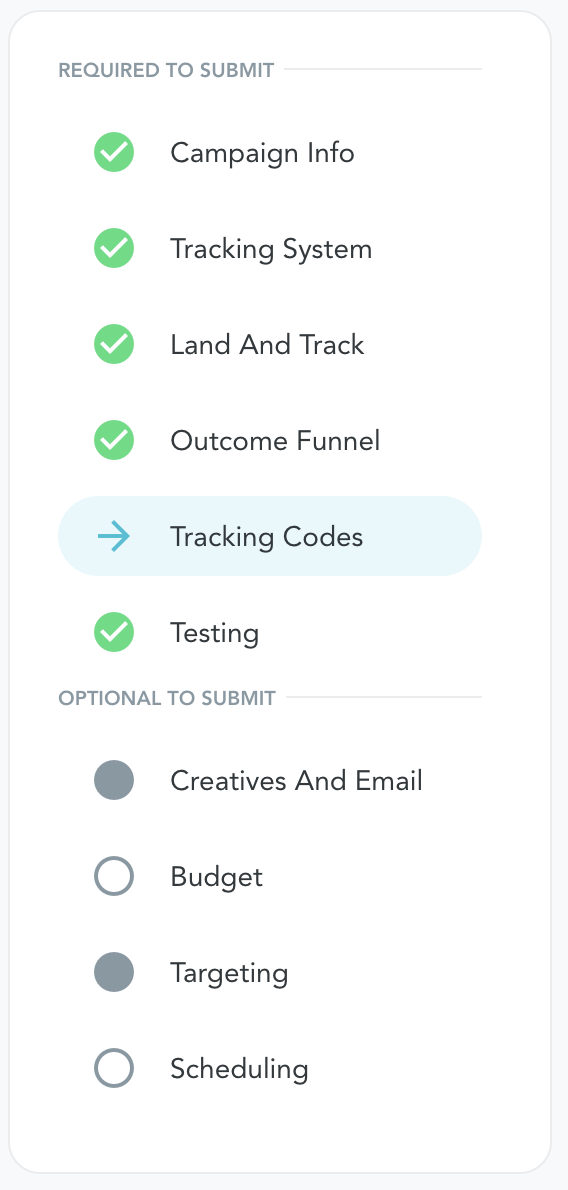
"Optional to Submit" Sections
All of these sections are optional. If a section is altered from the default settings, the section will appear with a dark gray circle.
Creatives & Email
The Perform[cb] compliance team will review all creatives added to the campaign before launch. The partner can then access these creatives in the Partner UI or Partner API.
All campaigns can now accept email traffic if desired by the marketer. Turn on the Email Traffic toggle to allow partners to run sourced email traffic or traditional email traffic to this campaign.
- Sourced Email Traffic: The partner provides the suppression list.
- Traditional Email Traffic: The marketer provides the suppression list.
The Perform[cb] compliance and support team will help add any suppression list to Optizmo so our partners can access the suppression list before running traffic.
Budget
All marketers have an overall budget set on their account level called Funding. In addition, the marketer can set campaign-level budgets or group budgets to restrict further traffic sent to their landing page.
- Campaign Budget: Will only limit traffic for this campaign.
- Budget Group: Limits traffic for multiple campaigns by applying a shared budget across all campaigns within the group.
- Test Budget: Limits traffic for each new link running traffic to this campaign. The campaign budget will override the test budget. For example, if the test budget is $1,000 and the campaign budget is $5,000 you will only test a maximum of 5 link IDs. You are responsible for removing the test budget parameters for each link ID after you have assessed the data.
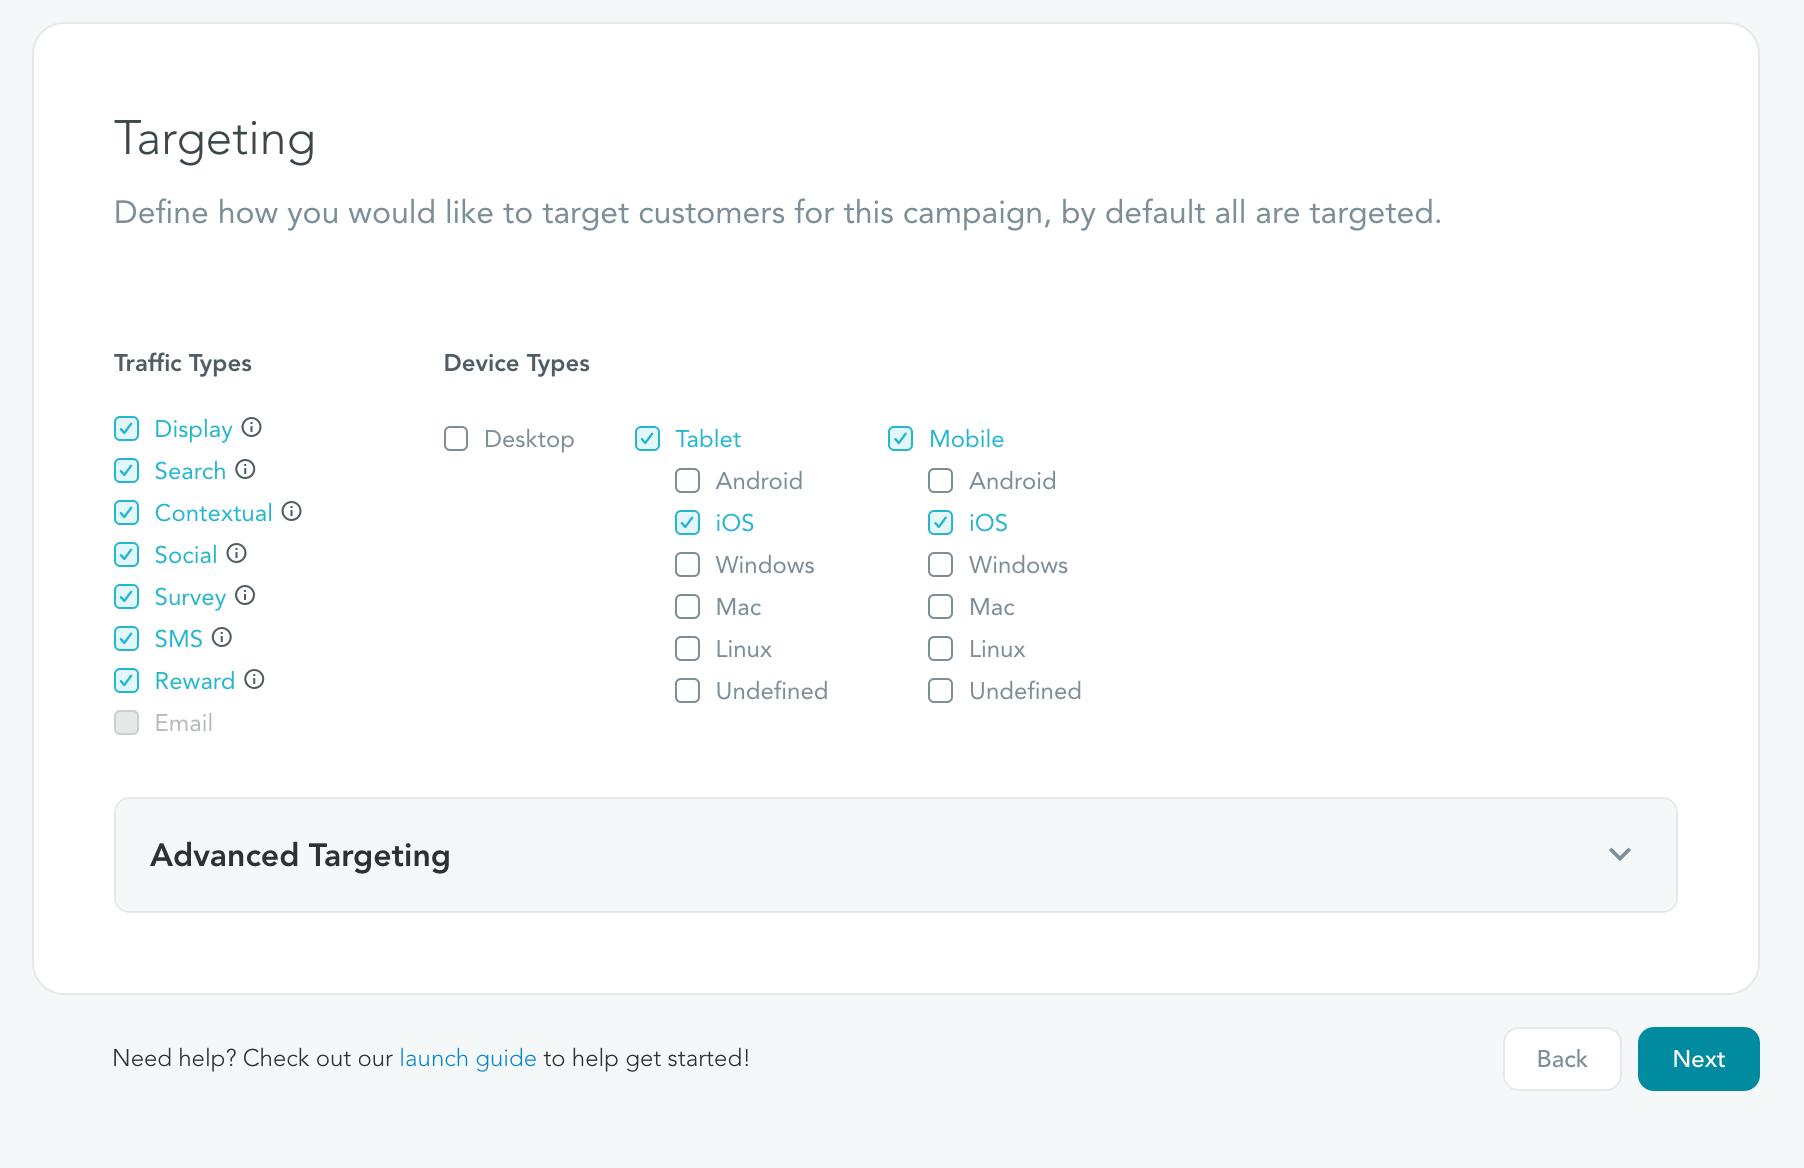
Targeting
Define how you would like to target customers for this campaign, by default all options are targeted. The one exception is targeting by 'Email' traffic type' which can be turned on in the Creatives & Email section of the campaign builder. Targeting options include traffic type, device type, and operating system. Use the advanced targeting options to target by country, state, city, zip, or ISP.
CPI and CPE campaigns will automatically ONLY target the device types and operating systems relevant to the operating system selected. For example, if iOS was selected as the operating system only tablet, and mobile iOS devices by default will be targeted. This of course can be edited.
Scheduling
Define the time frame that this campaign should start and end, by default it will start immediately and have no end date. Utilize advanced scheduling to define specific days and hours that the campaign should run. This is also referred to as dayparting. All times entered should be in Eastern Standard Time.
Save Draft
Campaigns can now be saved as drafts. This allows the user to return at a later time to finish the campaign setup, before submitting the campaign for approval. The campaign name must be added before a draft can be saved.
Submit Campaign
After all required fields are added, the campaign can be submitted for approval. You will receive an email from our system once the campaign is approved, and the campaign status will be updated from Pending to Approved.